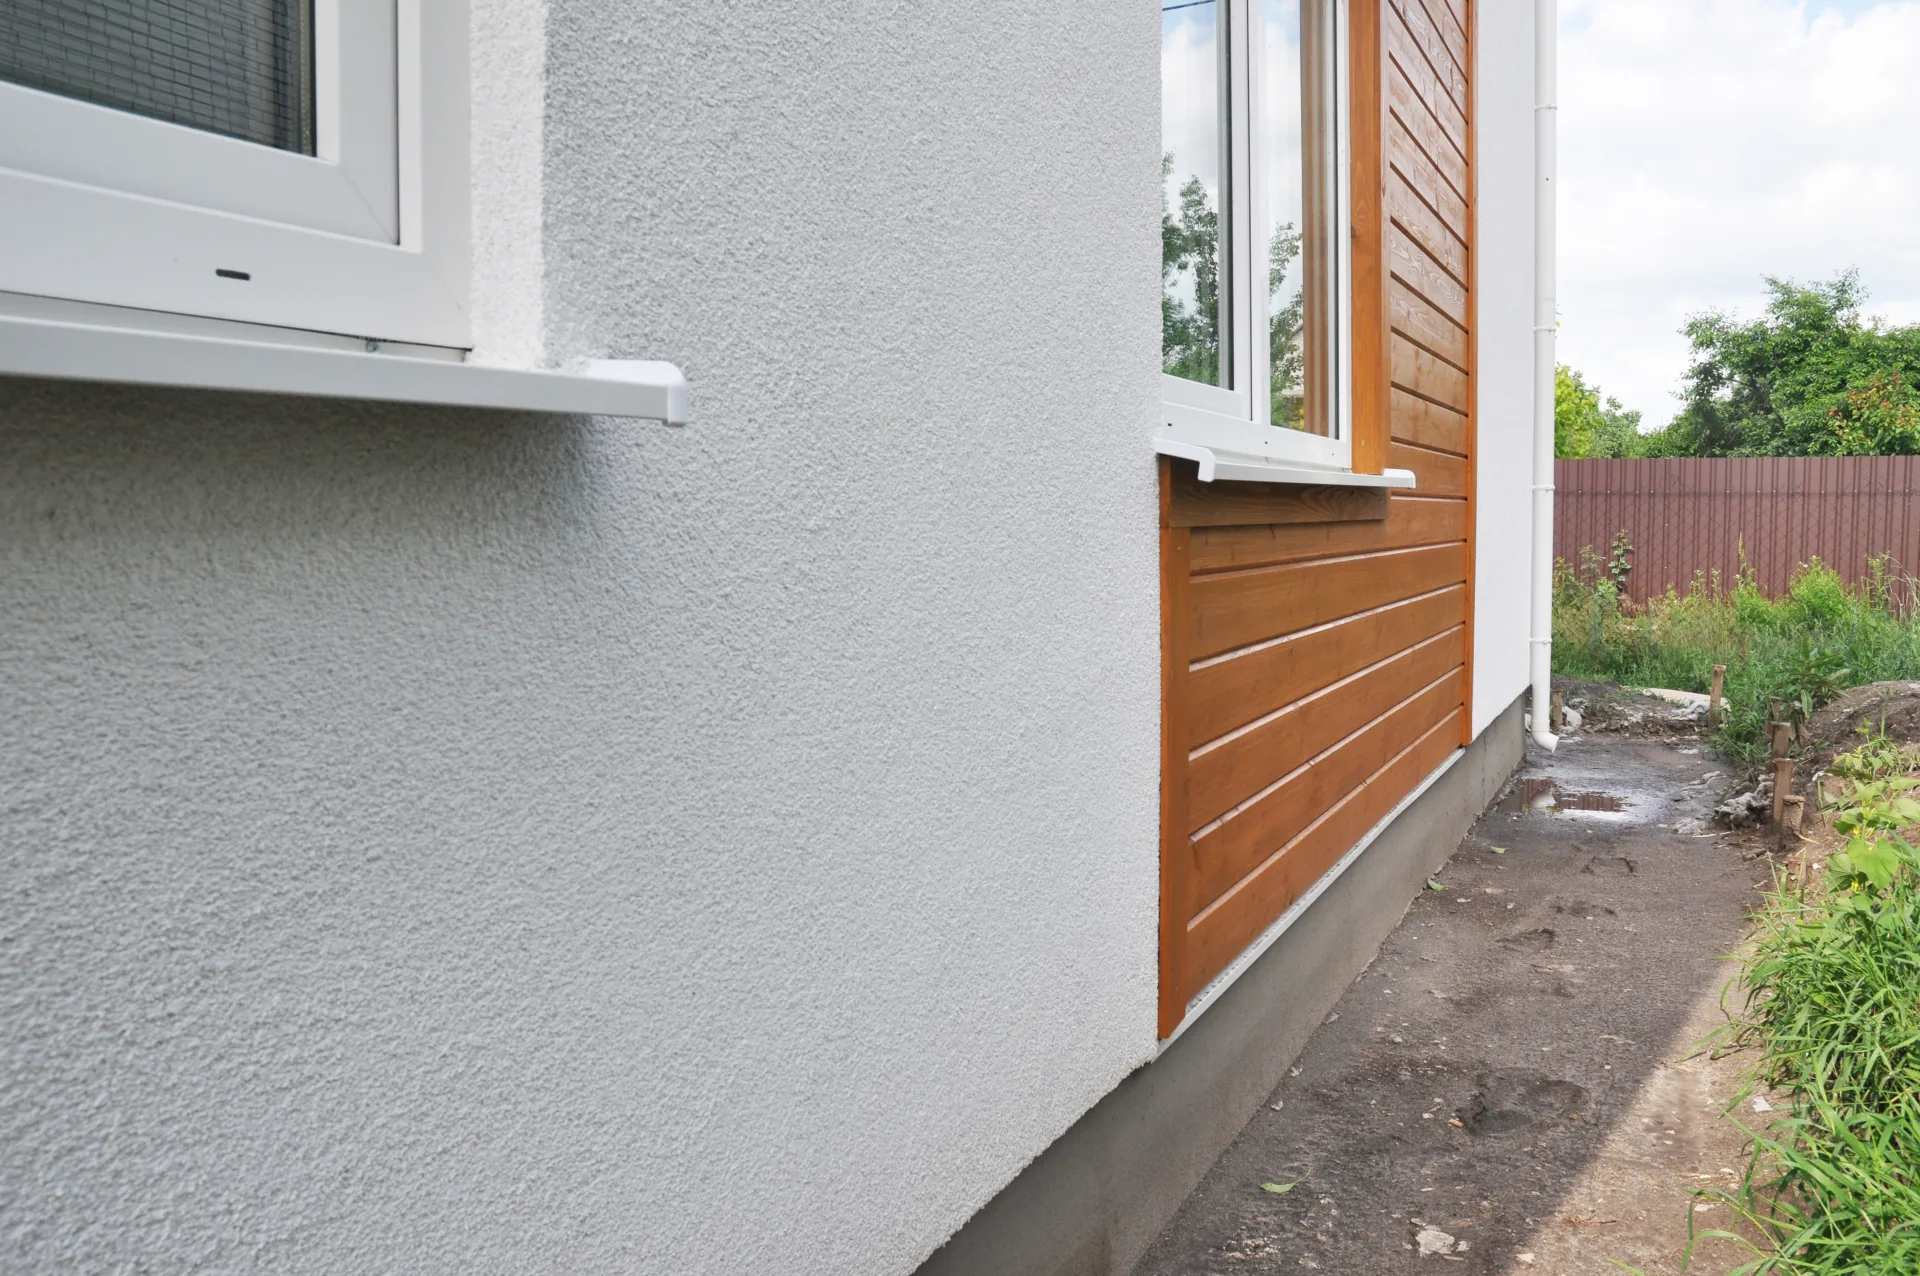
Render is a long-term investment but it isn't fit-and-forget. Here's the realistic maintenance schedule we give every client after a job — the same routine that keeps a well-installed render looking good at 20+ years.
Once a year: a slow walk around the house
Pick a dry day in spring, when winter damage has fully shown itself. Walk around the perimeter and look at every wall. You're checking for:
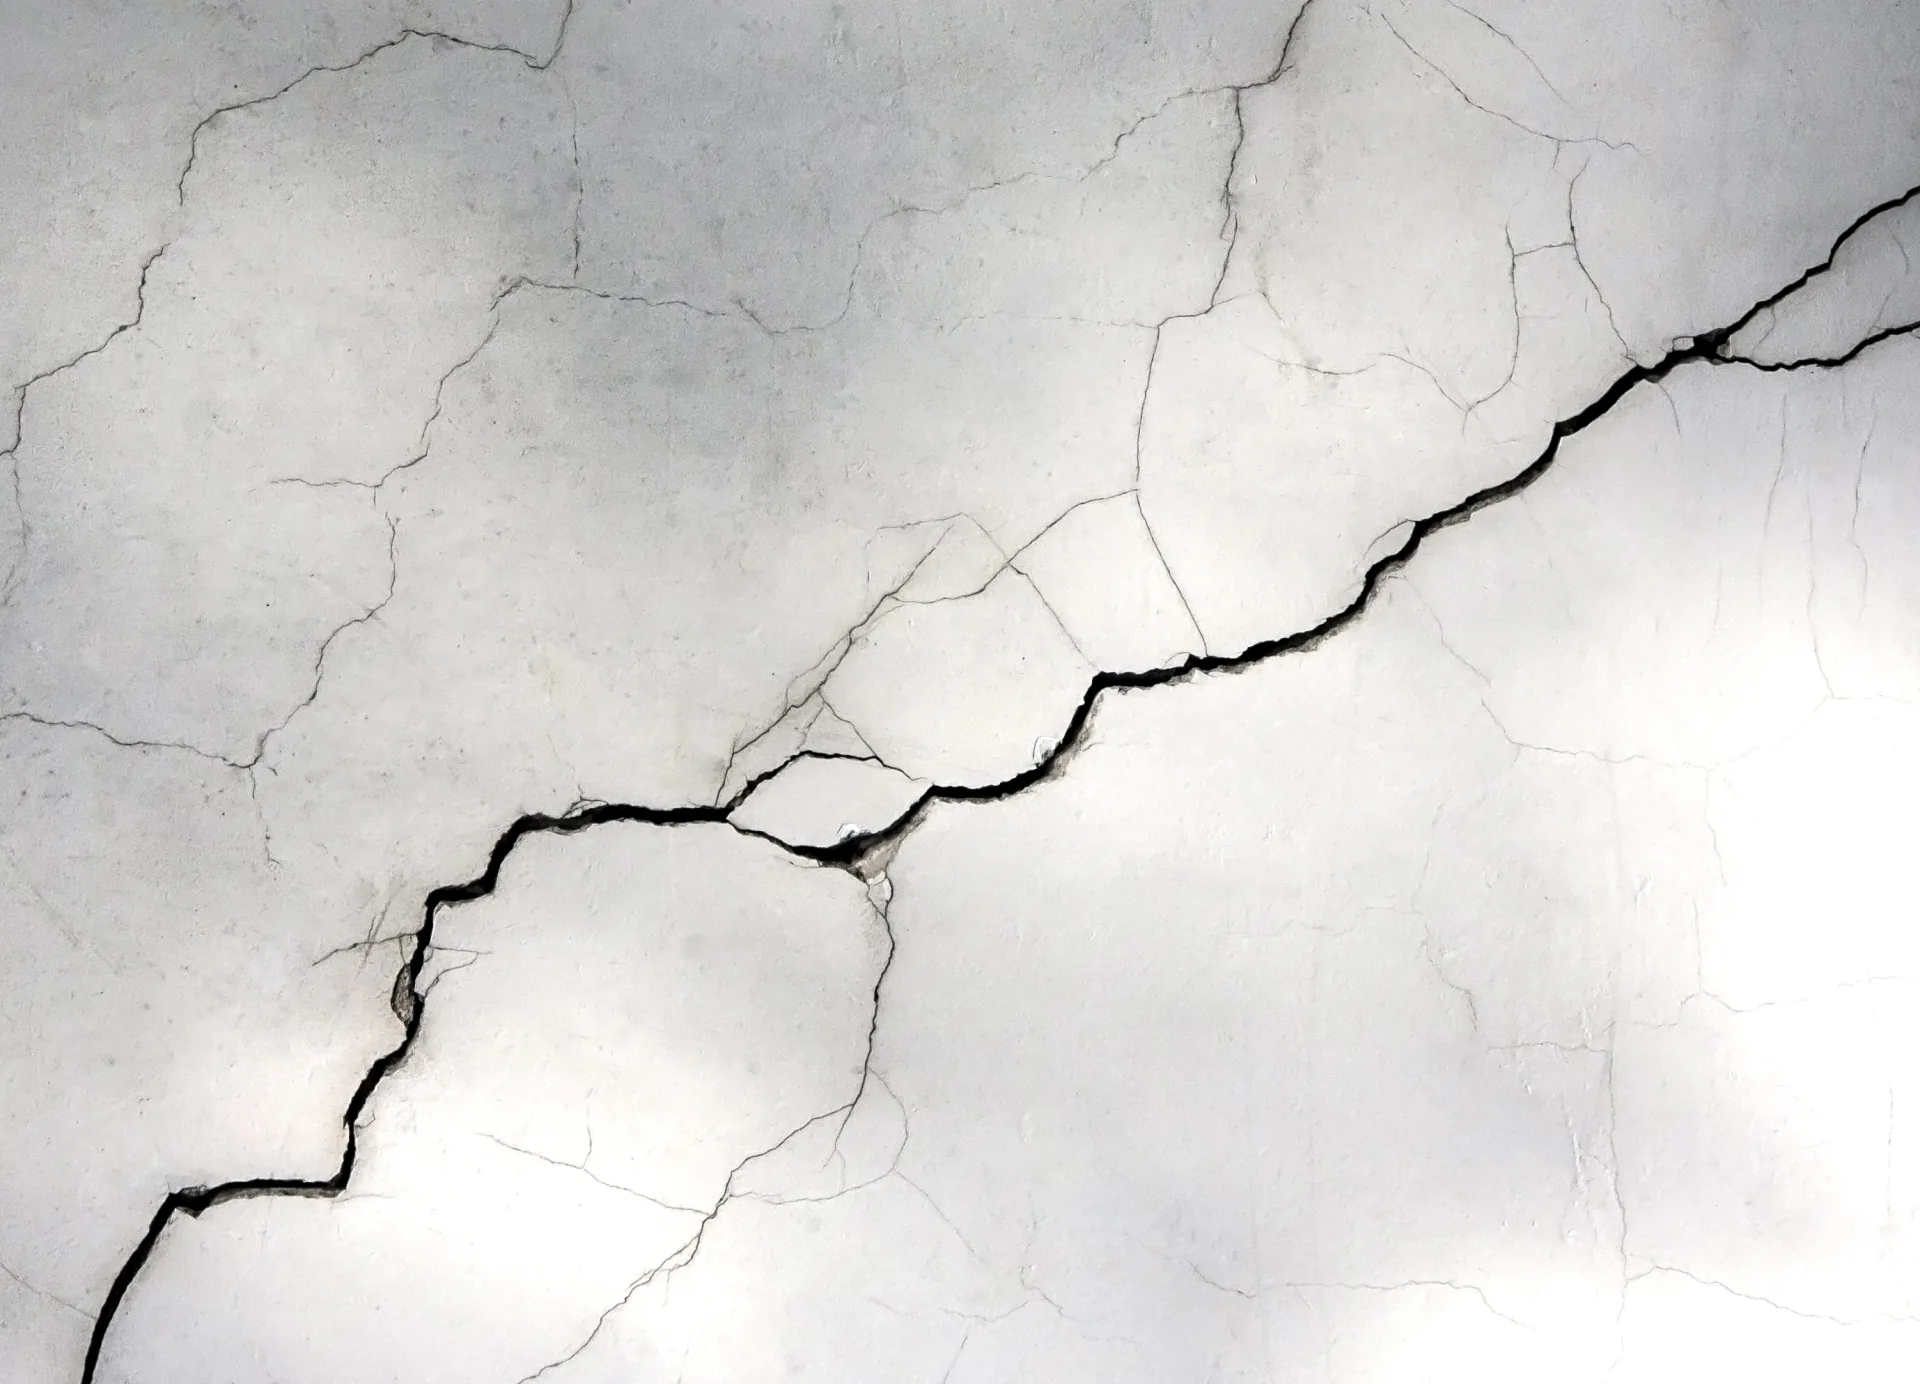
- Hairline cracks — a few thin ones (under 0.5mm) are usually thermal movement and not urgent.
- Wider cracks — anything over 1mm that wasn't there last year needs attention before water gets in.
- Hollow patches — tap the wall gently with the handle of a screwdriver. A solid "tock" means the render is bonded. A dull "thud" means it's blown — the render has separated from the wall and will eventually fall off.
- Staining — green algae on north-facing walls is normal. Rust streaks coming from somewhere up high mean something metal is corroding (a bracket, a lintel, a wall tie).
- Damp patches — bottom of the wall: usually splash from the ground or a blocked gully. Middle of the wall: usually a render crack letting water through. Top of the wall: usually a guttering problem.
Take photos. Year-on-year comparison is how you spot changes early.
Cleaning — gentle, not pressure-washed
The single most common mistake is hitting render with a 3000psi pressure washer. It strips the surface, drives water deep into the render, and shortens its life.
The right routine:
- Soft brush on a long pole to knock off cobwebs, leaves, and surface dirt.
- For algae or general grime: a garden sprayer with a mild biocide (sodium hypochlorite at 5% works, or branded products like Algon). Leave 24 hours, gentle rinse with a hose. Repeat once a year on shaded walls.
- For stubborn staining on silicone or acrylic render: warm soapy water and a soft brush. Don't use anything abrasive.
If you must pressure-wash, keep it under 1500psi, use a fan tip, and stay 30cm back.
When to repaint (and when not to)
- Sand and cement render — typically every 5–10 years with masonry paint. The minute the existing paint starts flaking, it's time.
- Pebbledash — every 8–15 years if painted. Many people leave it unpainted; that's fine too.
- Acrylic, silicone, or monocouche thin-coat render — should not need painting at all. If it does, something has gone wrong with the original system or it's been pressure-washed too aggressively.
Use masonry paint, not standard exterior paint, and never paint over lime render — it traps moisture and accelerates failure.
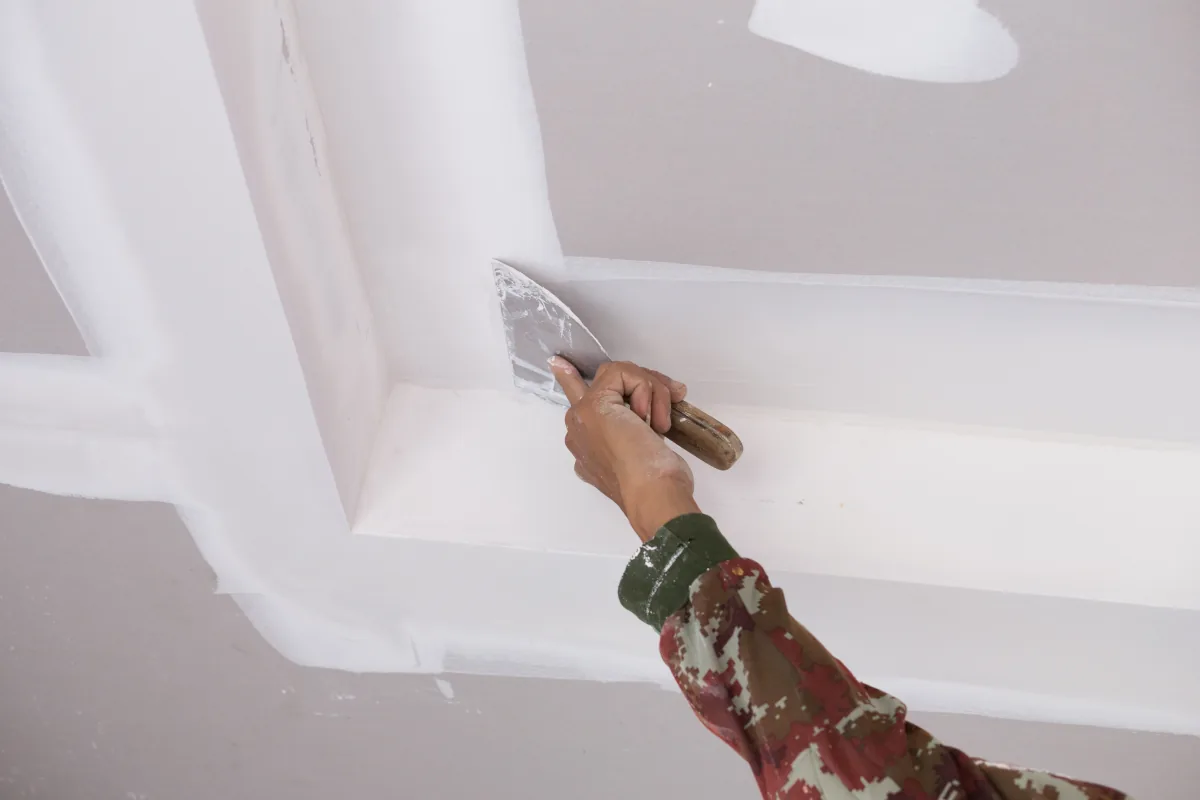
Small repairs you can do yourself
A handful of hairline cracks: rake them open slightly with a knife, brush clean, work in a flexible masonry filler, smooth flush, paint when dry.
Anything more — blown patches, missing chunks, cracks wider than 2mm, damp coming through — needs a plasterer. Trying to patch blown render with filler just hides the problem for one more winter.
Seasonal habits that extend render life
- Autumn: clean out gutters and downpipes. 80% of render damage we're called out to fix starts with a blocked gutter.
- Winter: check the walls after storms. Wind-driven rain finds every weakness.
- Spring: the annual walk-around above.
- Summer: trim back any climbing plants growing up the walls — they hold moisture and their roots get under render.
When to call us
In short: if you can't tell whether something's serious or not. Most "I think there's a problem" calls turn out to be cosmetic and we'll tell you so on the phone. The ones that get expensive are the ones people ignore for three winters in a row.
A 30-minute visit to look at concerns is free and usually saves a lot of money.
Spotted something on your render?
Send us a photo and we'll tell you straight whether it needs a plasterer or just a hose.